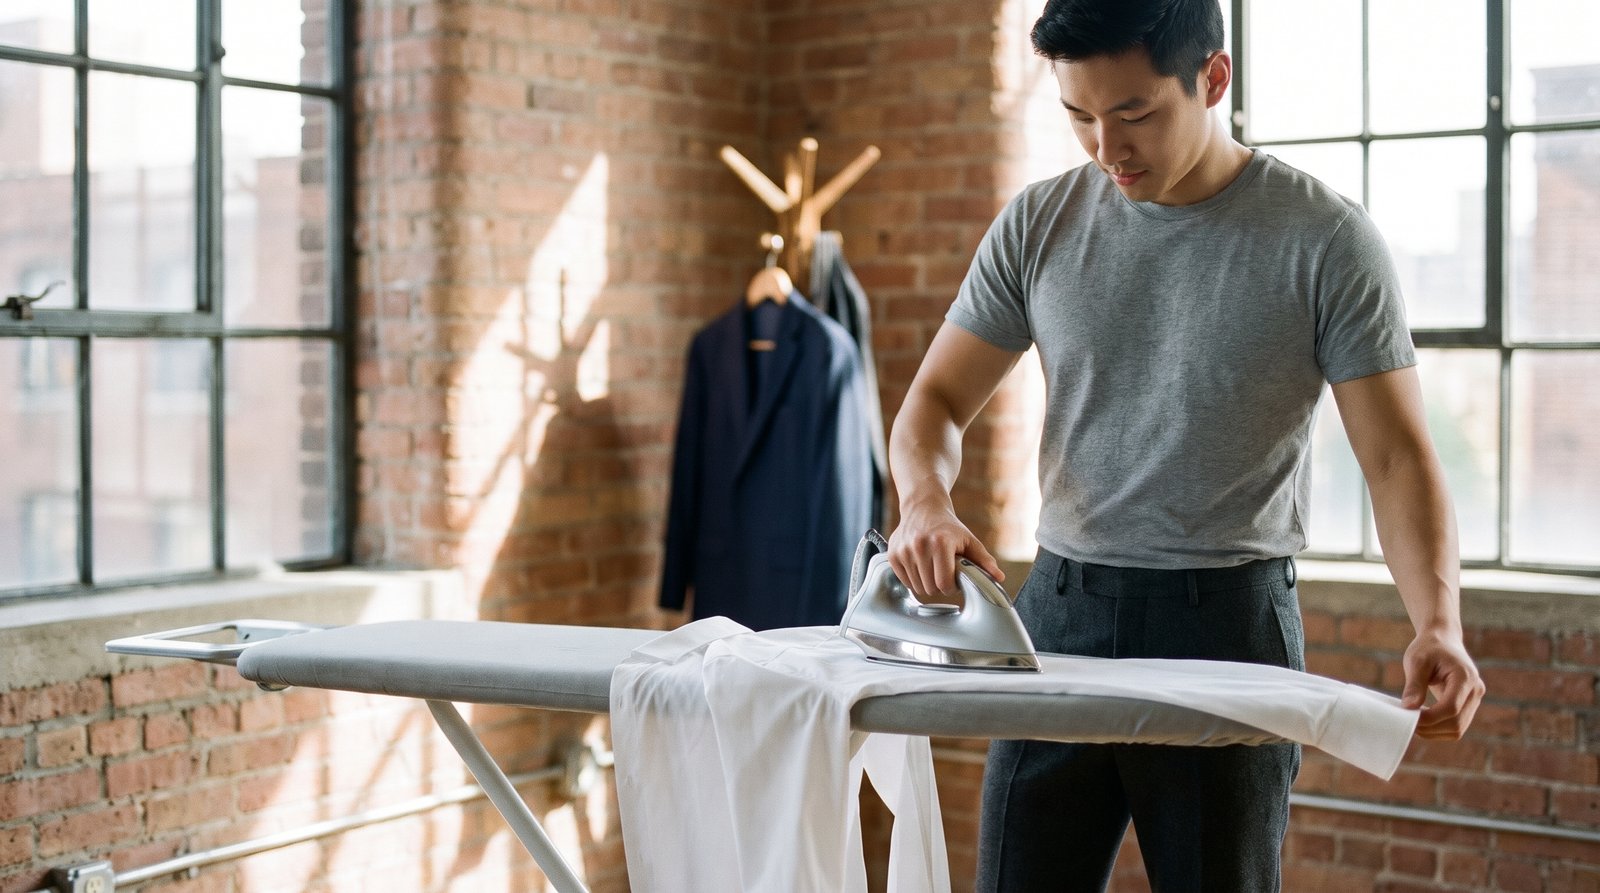
Knowing how to iron a dress shirt properly takes about ten minutes and saves a good shirt from looking tired before the day starts. The secret is order: work from the small, structured parts to the large, flat ones, so nothing you have already pressed gets wrinkled again. Here is the sequence, the right heat for each fabric, and what to do when there is no iron in sight. If you are dealing with wrinkles on everything in your closet, our guide to ridding your clothes of wrinkles covers the broader picture. This one is all about the dress shirt.
The Ironing Order at a Glance
Every step below follows this sequence. It is the order a professional shirt presser uses, and it works on any long-sleeve shirt.
- Collar, underside first, then the outside.
- Cuffs, inside then outside.
- Sleeves, one at a time, flat along the seam.
- Yoke, the panel across the shoulders.
- Front panels, starting with the button side.
- Back, from yoke seam to hem.
- Hang it immediately and let it cool.
Before You Start: Heat, Water and Setup
Set the iron by fabric. Cotton and linen take high heat, around 400°F, with steam. Cotton blends and stretch shirts need a medium setting. Anything with a high synthetic content should be pressed low, or through a thin cloth. Our introduction to dress shirt materials explains how poplin, oxford, twill and pinpoint each behave.
A 100% cotton shirt irons best slightly damp, so press it right out of the wash or mist it with a spray bottle first. Fill the iron with distilled water to keep mineral spots off white shirts, and unbutton every button, including the collar points and cuffs. Spray starch is optional. A light mist gives the collar and placket a crisper finish.
Iron the Collar and Cuffs First
The collar is the part people look at most, so it gets the most care. Open it flat on the board, underside facing up.
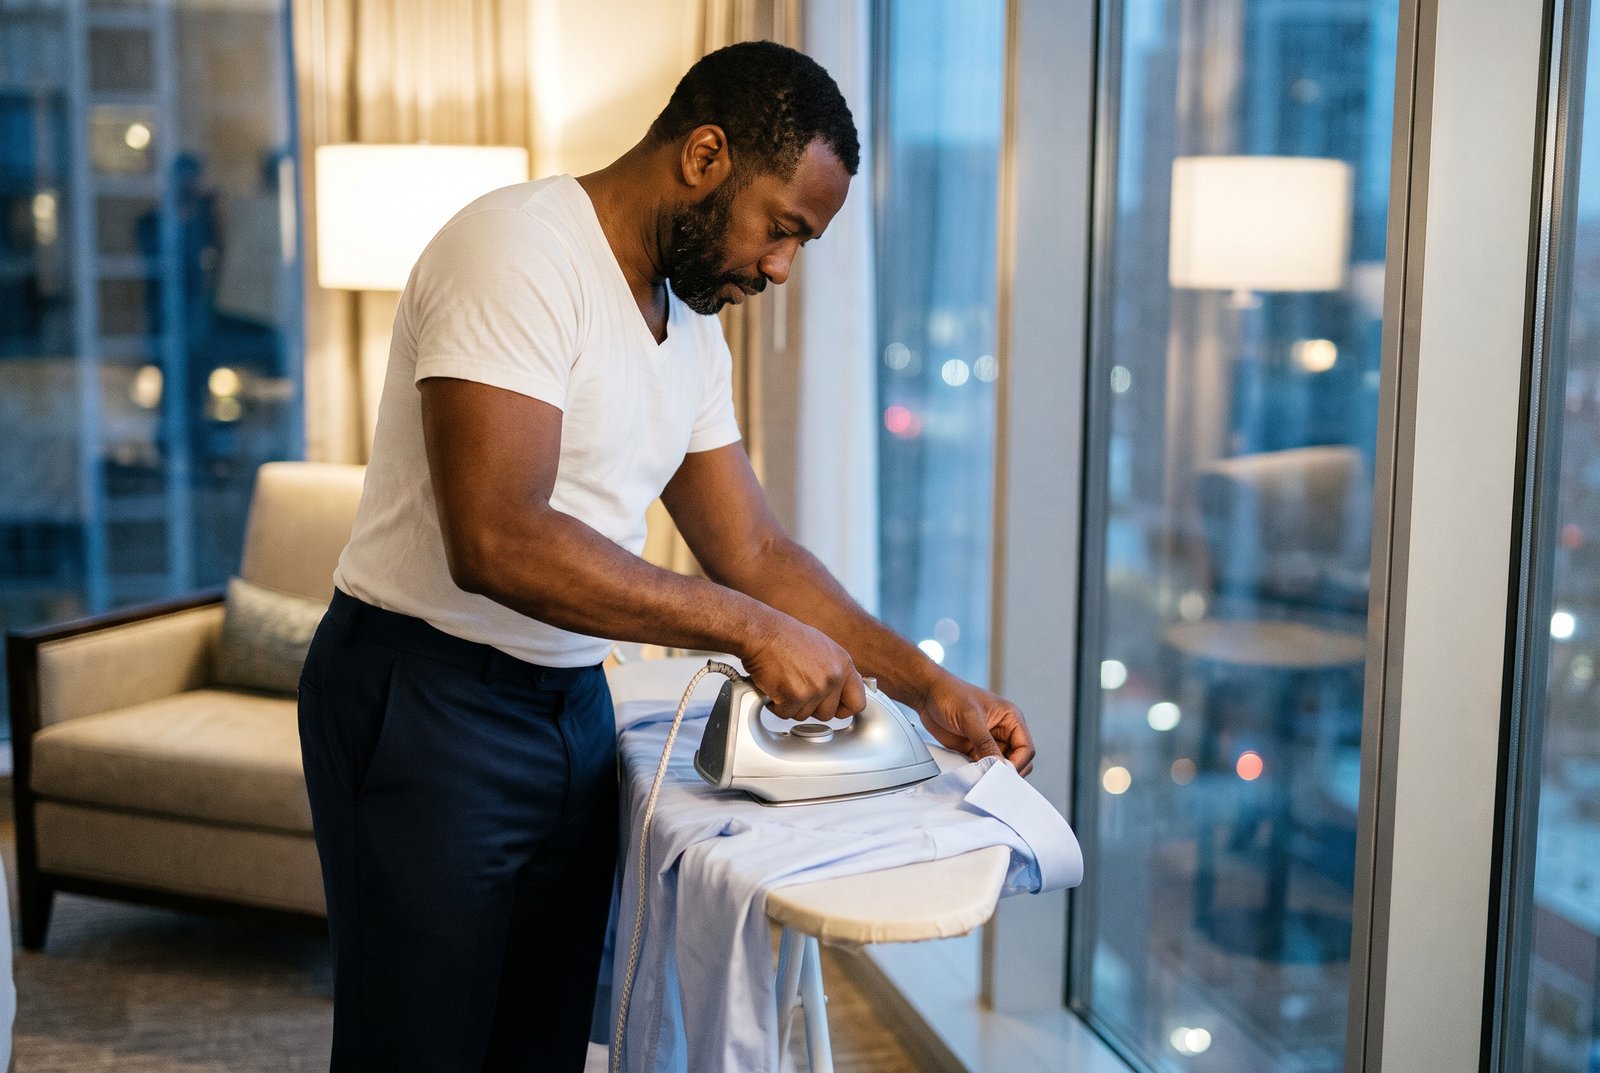
- Press from the points inward. Start at one collar point and glide toward the center, then repeat from the other point. Working inward pushes any puckers toward the middle, where the tie covers them.
- Flip and repeat. Turn the shirt over and press the outside of the collar the same way.
- Fold by hand. Fold the collar along its natural roll and set it with your fingers. Ironing a hard crease into the fold makes it sit flat and stiff.
- Do the cuffs. Unbutton each cuff, lay it open, and press the inside, then the outside, working around the buttons rather than over them.
For French cuff shirts, press the cuff fully open and flat, then fold it back and press lightly along the edge. Our guide to dress shirt collars, cuffs and other details covers every style you are likely to meet.
How to Iron Shirt Sleeves
Sleeves cause the most frustration, and the fix is simple: line up the seam. Lay one sleeve flat on the board, holding it by the seam so the fabric smooths out evenly on both layers.
Press from the shoulder down to the cuff. Then decide on the crease. A sharp crease along the top of the sleeve is the traditional finish. If you prefer none, press up to about an inch from the folded edge, or slide a rolled towel inside the sleeve. Turn the sleeve over, press the other side, then repeat on the second sleeve.

Press the Yoke, Front and Back
With the details done, the body goes quickly. Drape one shoulder over the narrow end of the board and press the yoke, then shift the shirt and press the other side.
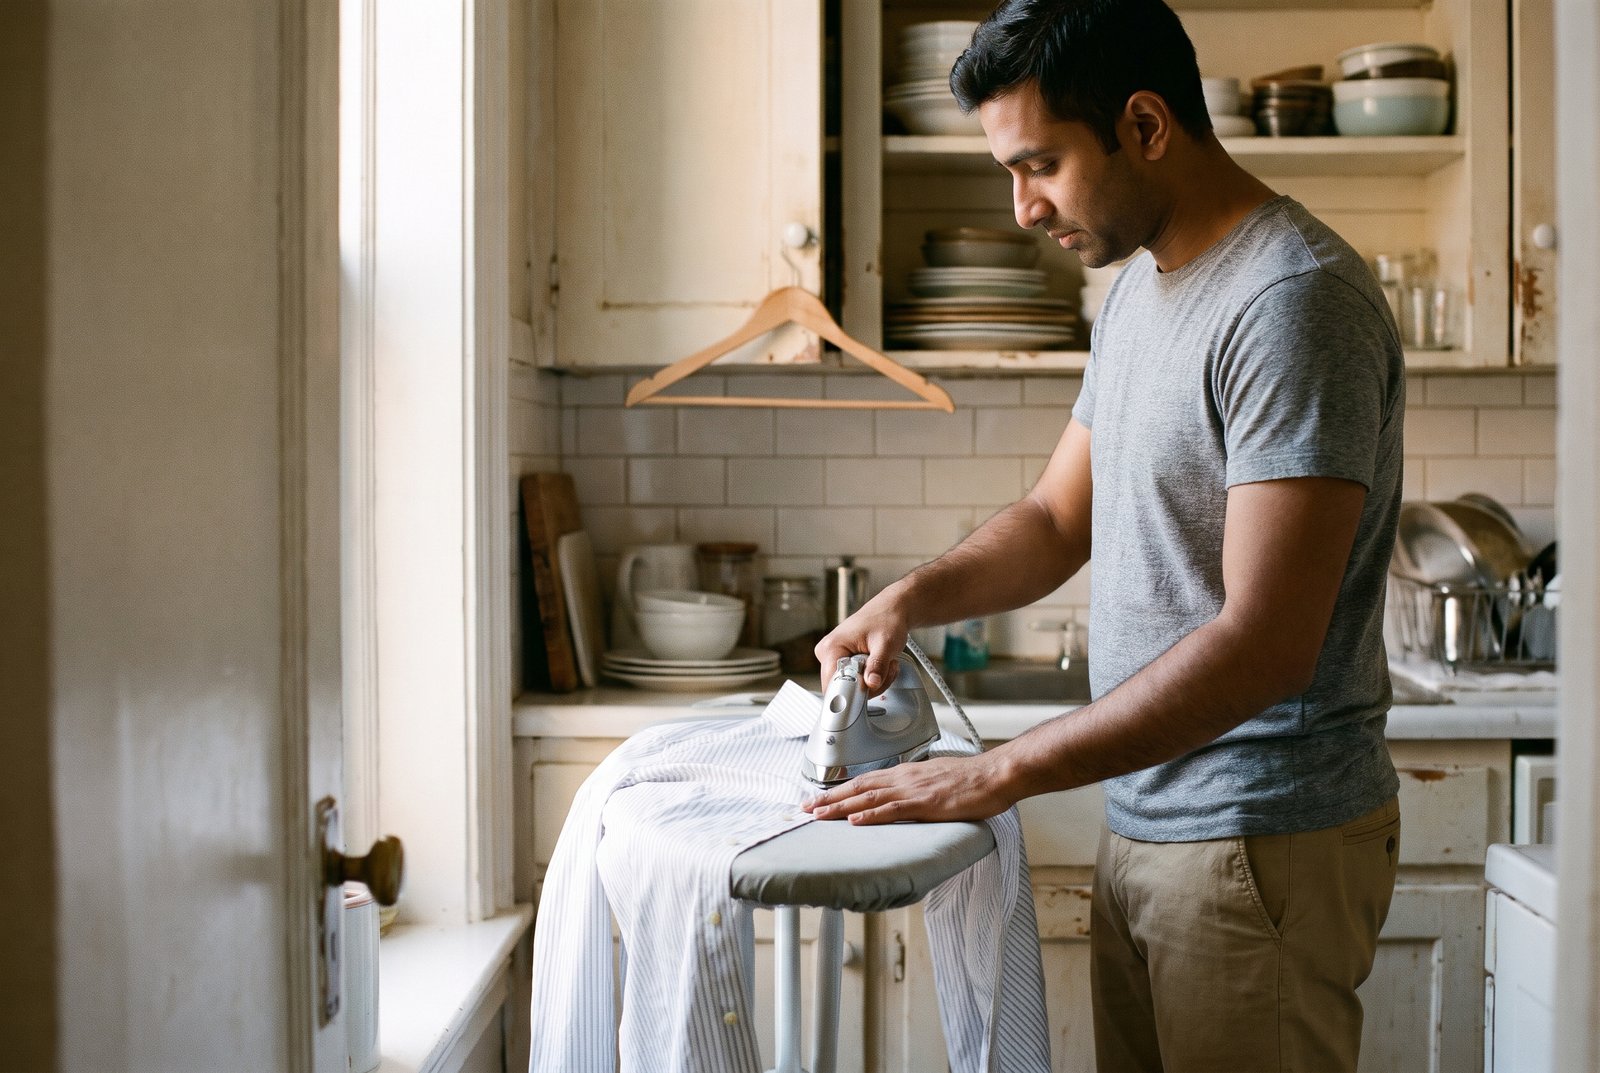
Next, lay the button side of the front over the board and press from the shoulder to the hem, using the tip of the iron between the buttons. Never iron over a button, since it can crack or leave a shine. Rotate the shirt to press the back from the yoke seam down, smoothing any box pleat with your fingers first. Finish with the buttonhole side of the front.
Hang the shirt on a shaped wooden hanger and button the top button so the collar keeps its form. Let it cool for a few minutes before you put it on, since warm cotton wrinkles easily.
Should You Steam or Iron a Dress Shirt?
Both have a place. A steamer relaxes wrinkles quickly and is gentle on fabric, which makes it good for a morning touch-up or a casual shirt. It will not give you a crisp collar, a sharp placket or a sleeve crease, though. For a shirt you will wear with a tie and a jacket, iron it. Shirts you send out are a different story, and our guide to dry cleaning explains when a professional laundry is worth it.
Can You Iron a Non-Iron Shirt?
Yes. A non-iron or wrinkle-free dress shirt is treated to come out of the dryer smooth, as long as you take it out promptly and hang it right away. If the collar or placket needs help, press them on a medium setting rather than high heat. Check the care label first, and skip the starch.
How to Iron a Shirt Without an Iron
Hotel rooms and early flights do not always come with an iron. These methods will not match a proper press, but they get a shirt presentable.
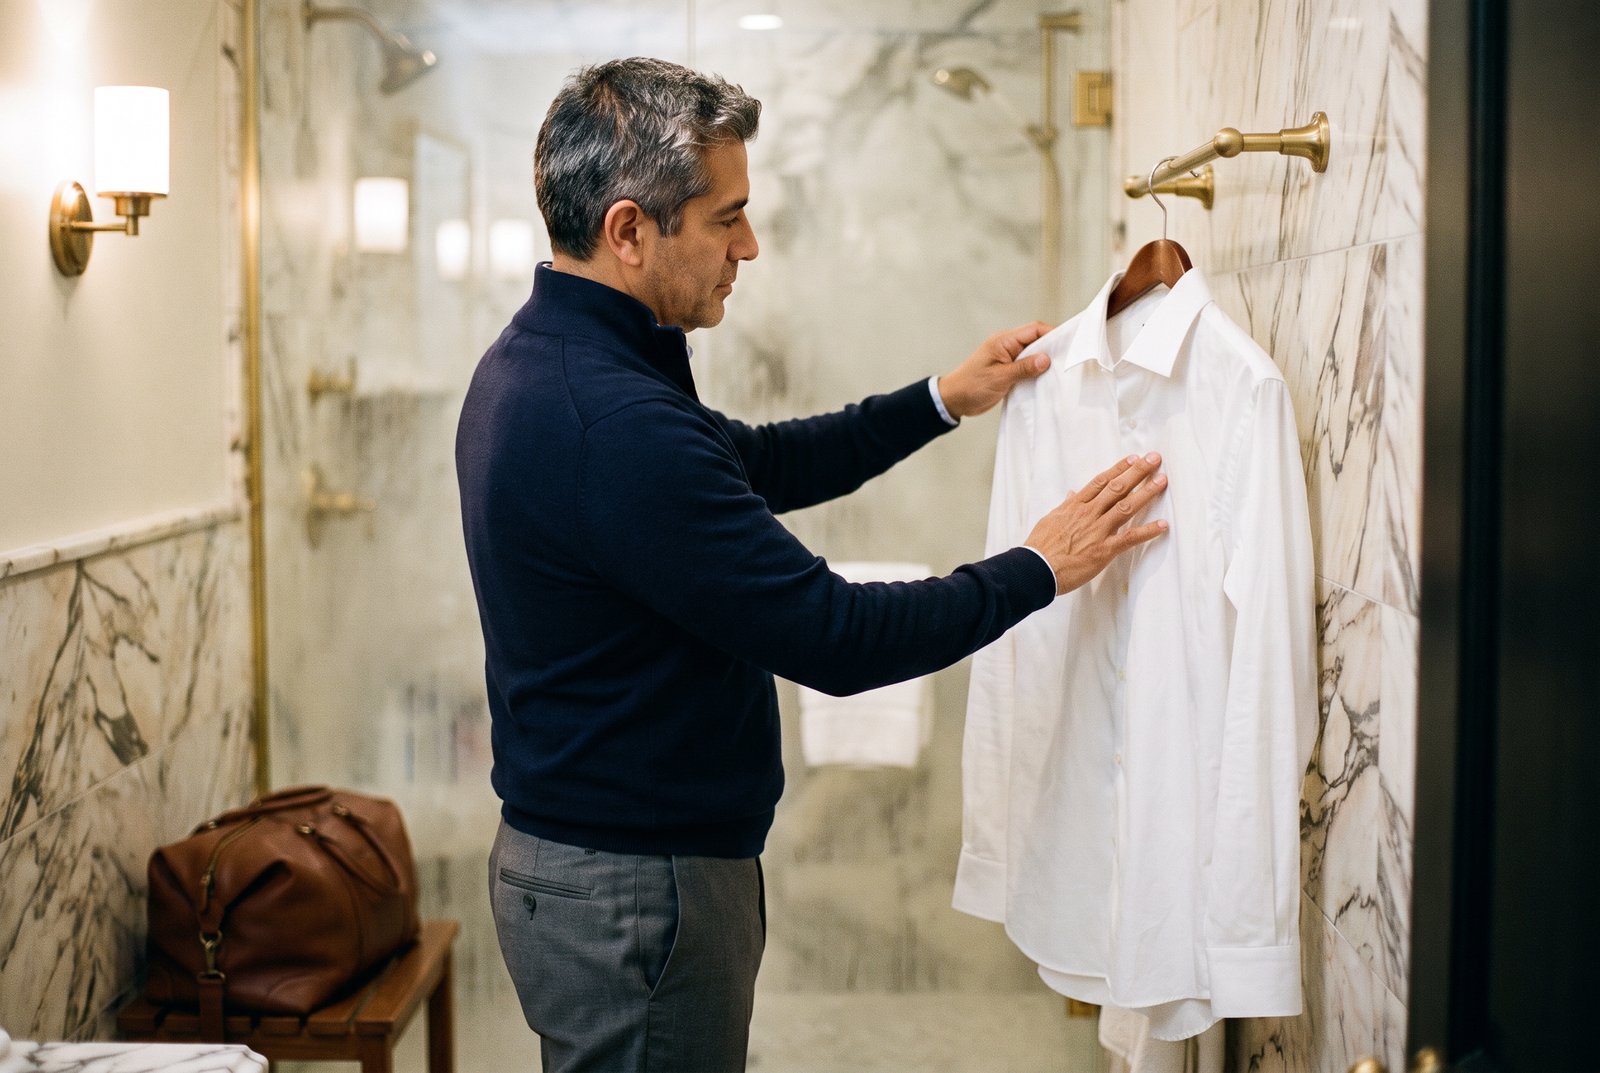
- Shower steam. Hang the shirt in the bathroom, run a hot shower with the door closed for 10 to 15 minutes, then smooth the fabric by hand and let it dry.
- The dryer. Tumble the shirt on medium heat for 10 minutes with a damp towel, then hang it immediately.
- A flat iron. A hair straightener, wiped clean, presses a collar and placket surprisingly well.
- Mist and smooth. Spray light wrinkles with water, pull the fabric taut, and let it dry on a hanger.

Iron in this order a few times and it becomes routine. A pressed collar and smooth placket make the biggest difference under a suit or sport coat, so if time is short, do those first. When it is time for new shirts, browse our tailored fit dress shirts for a cut that sits cleanly without excess fabric to fight with.